Next step of the renovation work: painting and wall moulding. In order to save time, we hired a team of professional painters to carry out most of the work, and after an intensive month the interiors walls and ceilings are as good as new! Let me show you the evolution in detail and with pictures.
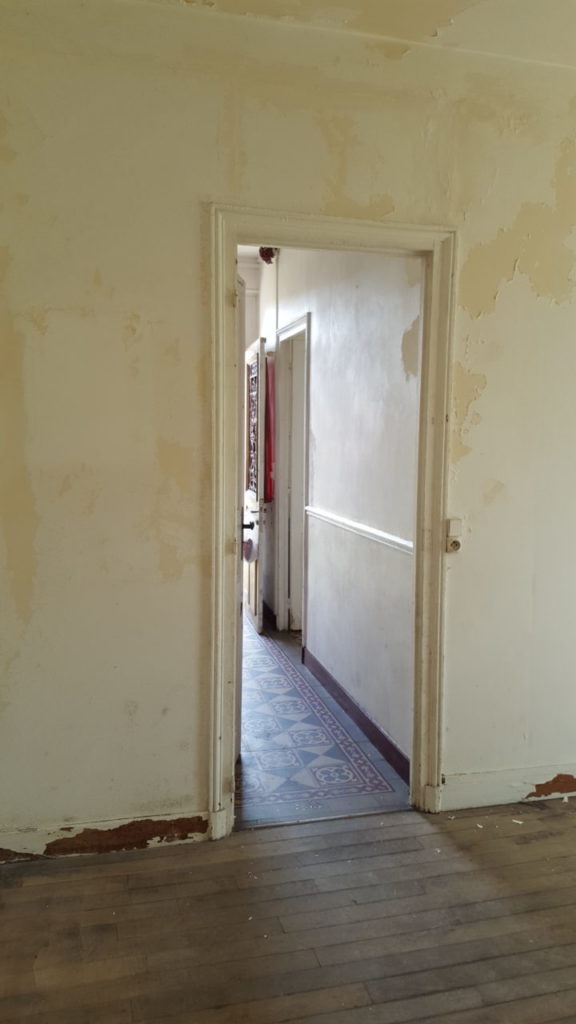
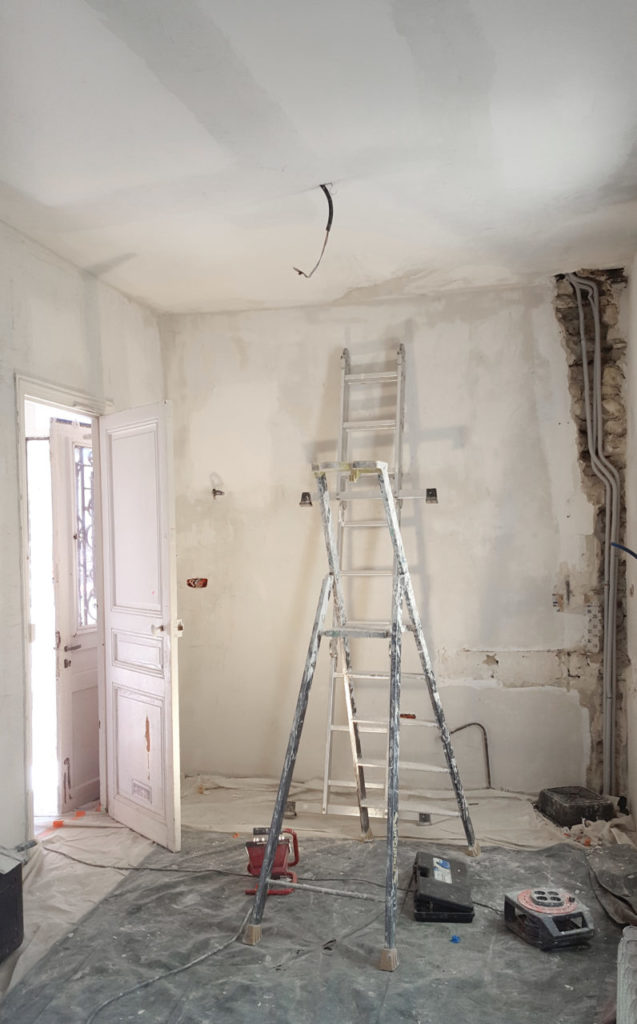
A lot of work needed to be done to make the walls and ceilings ready to be painted, because the old paint was completely chipped everywhere. There were also traces of old water damage on the 1st floor, and a leakage problem coming from the chimneys, which had created infiltrations in some areas. Even if the walls had dried, it was still necessary to scrape off all the coating which was peeling off in places.
The existing paint tattered, from walls … 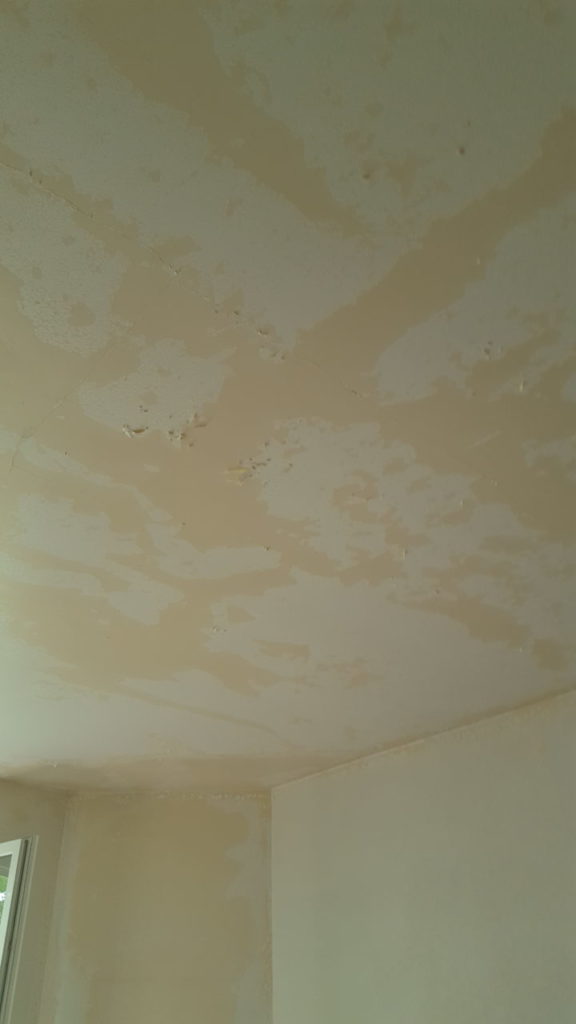
… to ceiling

Infiltration due to a leaky chimney 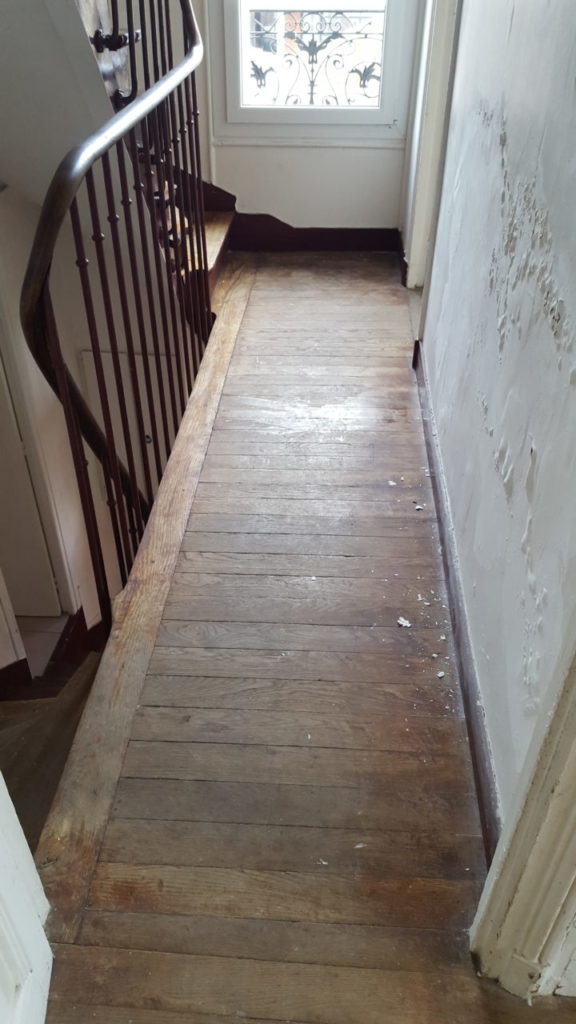
Blistered paint, due to an old water damage
Same for the ceilings which had some cracks. The painters therefore placed a canvas on them to prevent cracks from reappearing due to the natural movement of the house structure.
We decided to paint all the walls white. As for the risers, plinths and the staircase bars, we chose a light gray color.
First of all, the painters protected all floors with thick tarpaulins and blankets, because the tarps do not protect from possible knocks and scratches that can occur by moving ladders and equipment, or dropping tools. This is even more true if you have to protect a parquet floor, which was the case here, and needed extra protection since it had already been sanded and varnished.
Then the walls and ceilings were scraped and several layers of plaster were applied in order to make the walls completely smooth and without roughness or defects.
The kitchen after a few coats of plaster 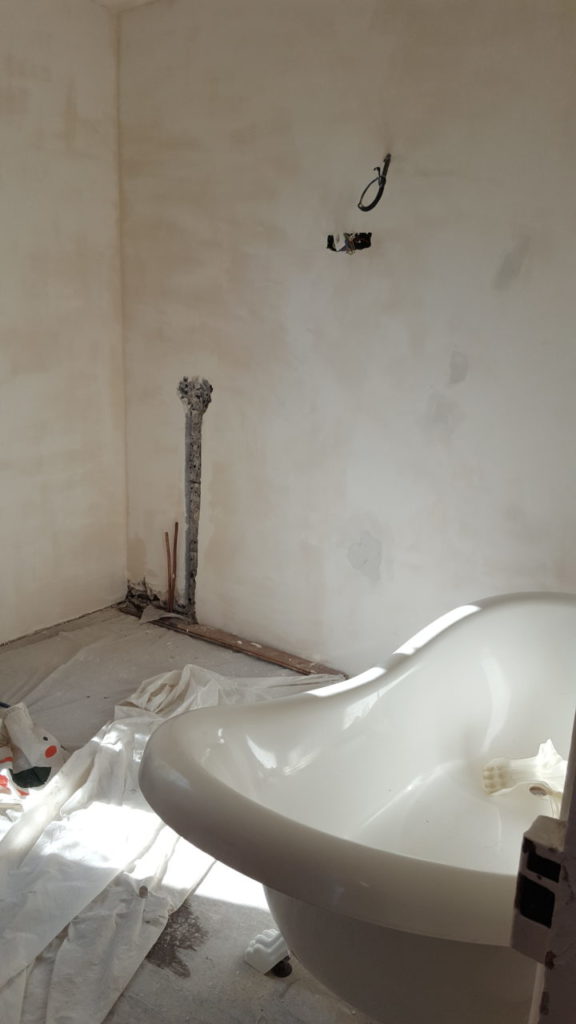
The bathroom, after plastering
Once this step was completed, a primer was applied. This product is is a preparatory coating put on materials before painting, and that will ensure a better rendering of the paint.
The 2nd floor corridor after a first coat of paint. The blistered wall is now a memory from the past!
Then, the painters put two coats of paint, matt finish on the ceiling and satin finish on the walls.
The living room after plaster … 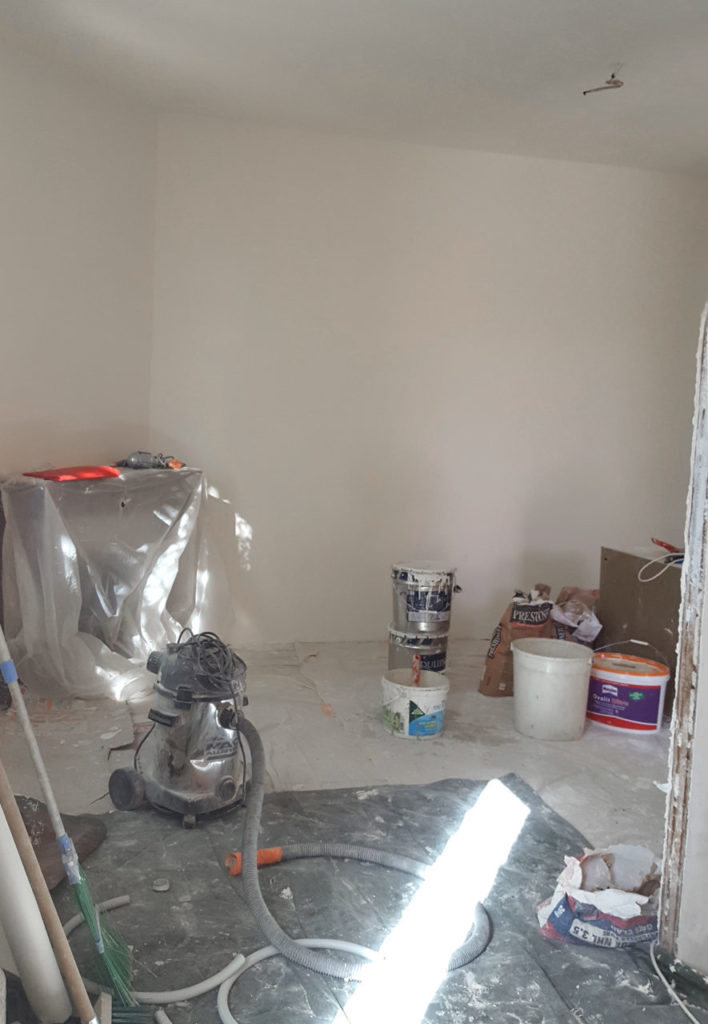
… and after the first coat of paint
Wall mouldings, cornices and rosette to give a period style to the living room
In the living room, we decided to put moldings on the walls, as well as cornices and a rosette on the ceiling, in order to give a classic period style to this room, which already had a beautiful oak parquet floor and an old marble fireplace. It took us a weekend, and we did it after the painters had applied the primer, once the walls were smooth. I didn’t take photos of the different steps, but I detail how to install mouldings, cornices and rosettes here.
The final result
Let’s now have a look at the final result ofthe painting and wall moulding work:
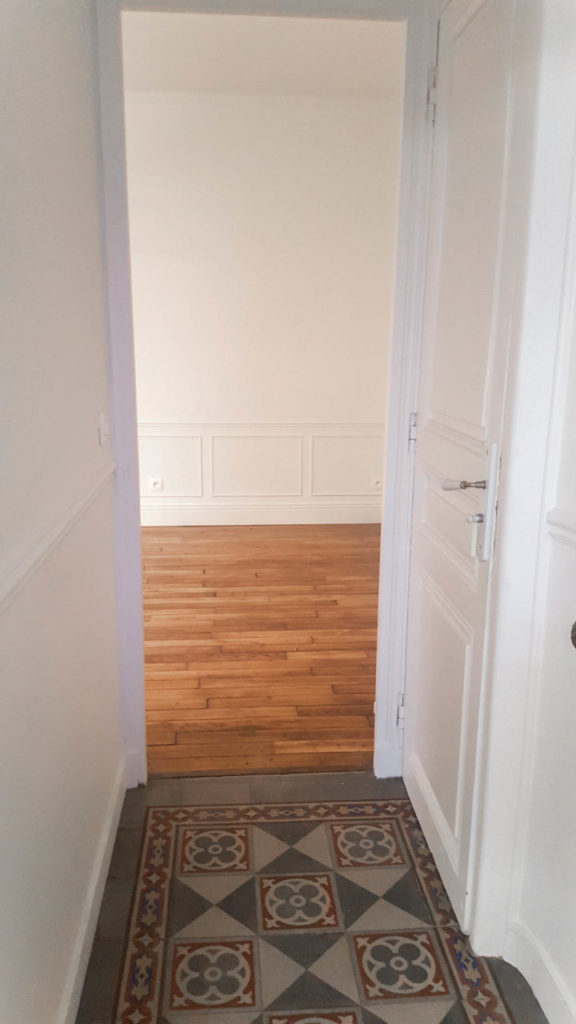
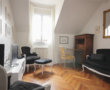
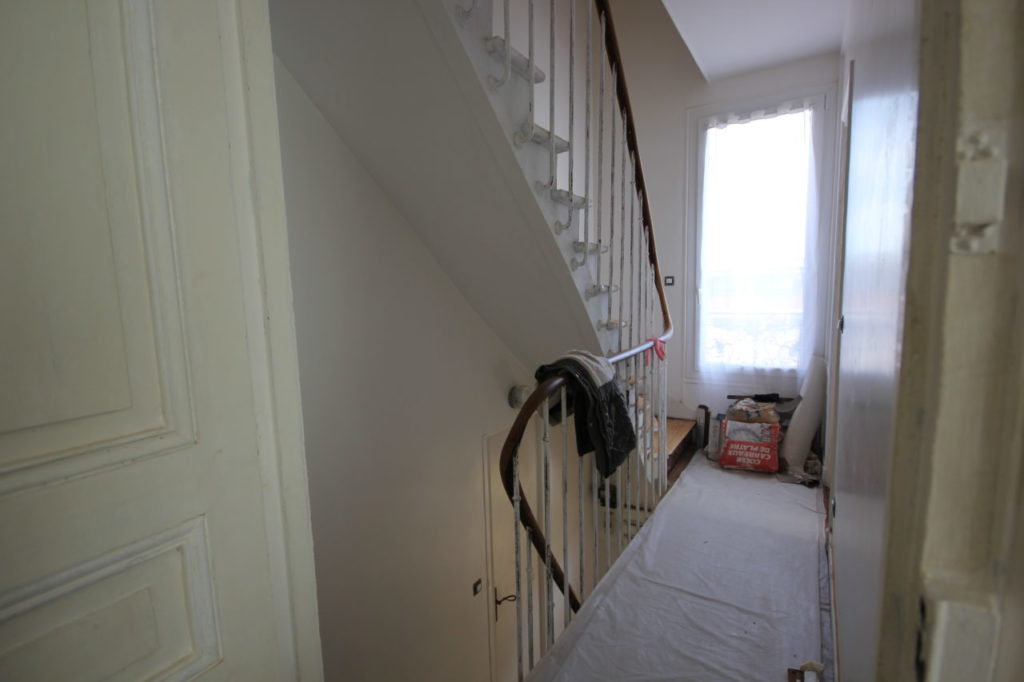
First floor corridor 
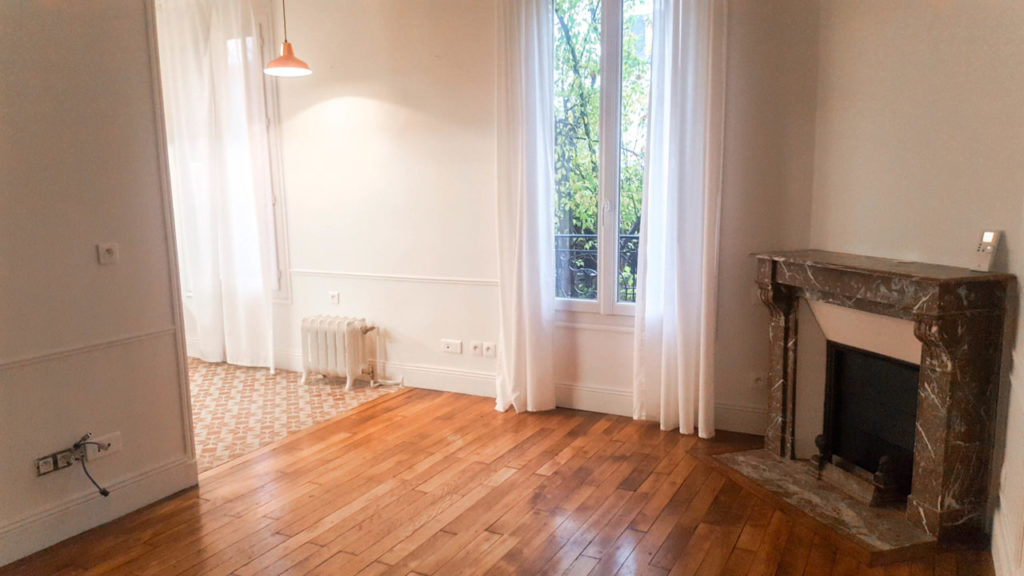
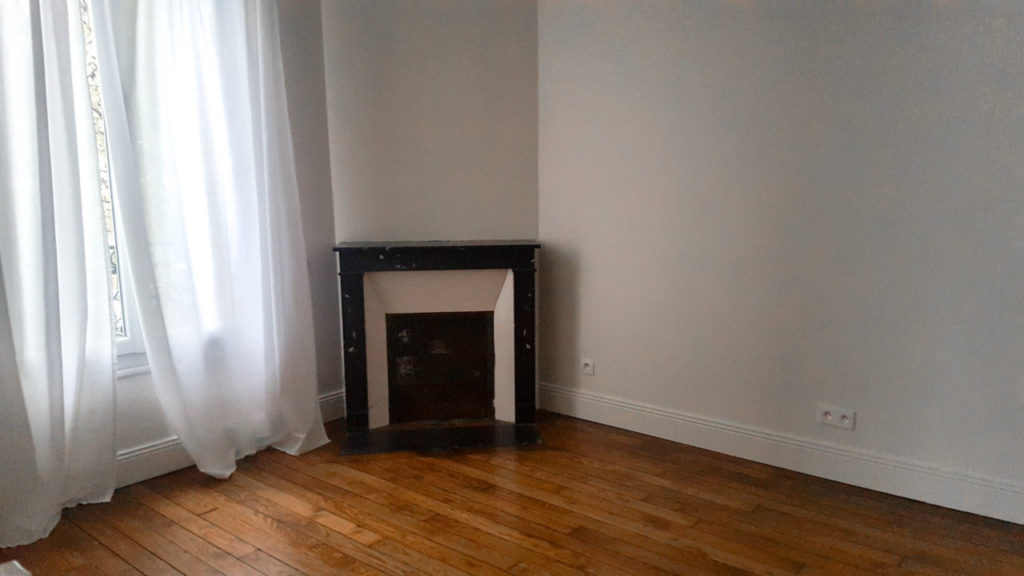
Living room
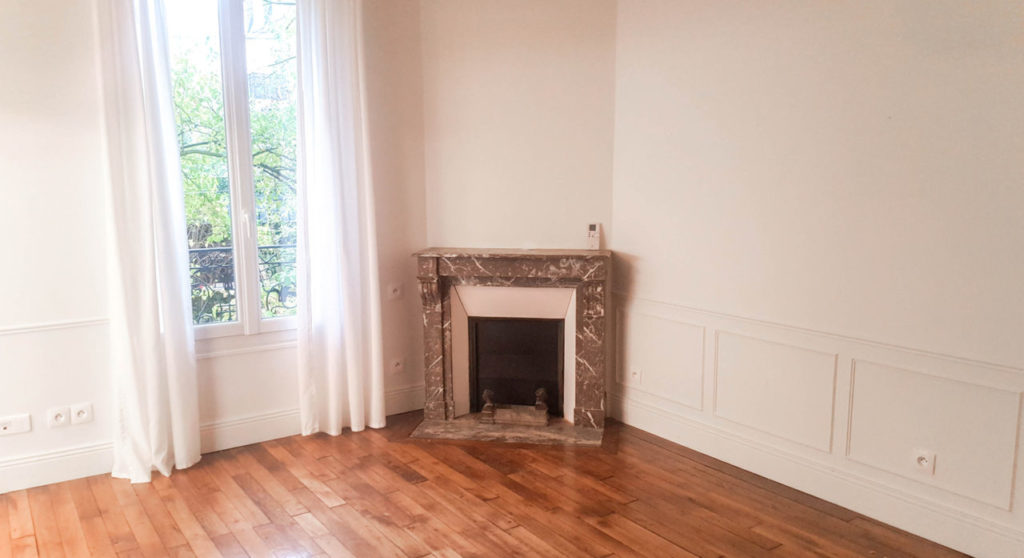
Oak wooden floor, moulding and an old marble fireplace. What else?
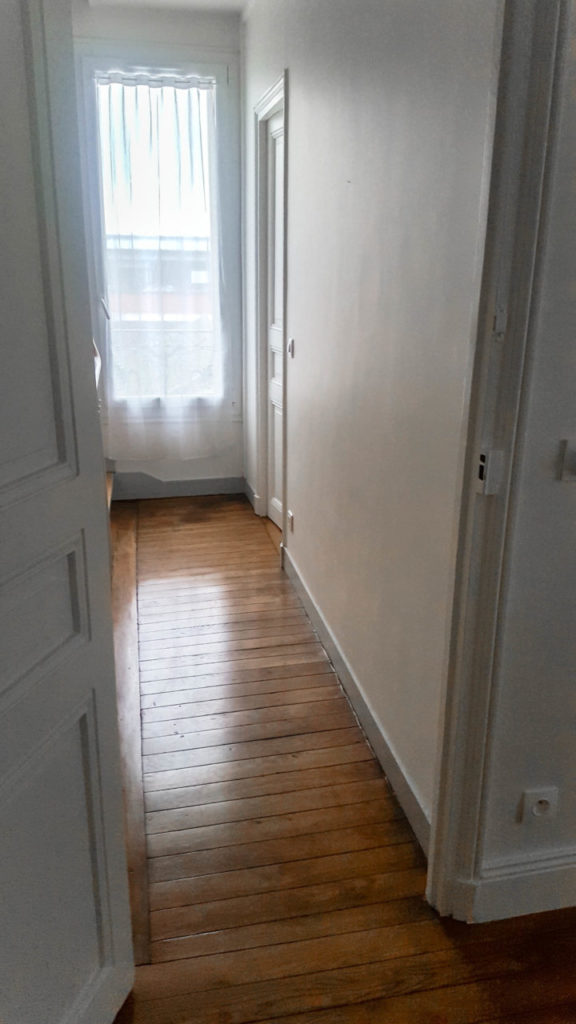
2nd floor corridor 
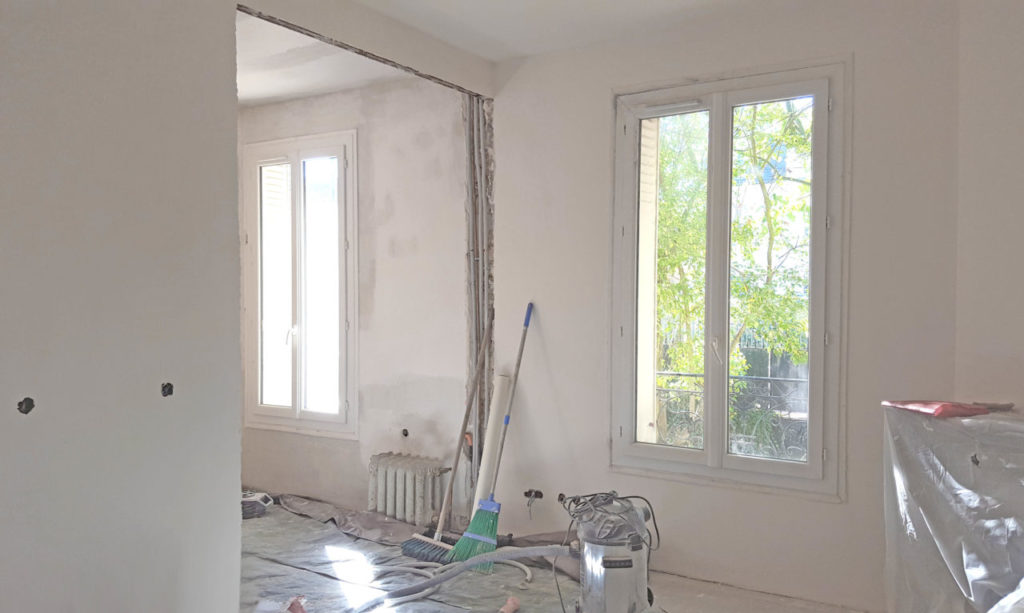
Master bedroom
What a change!
The next steps are now to install the kitchen, and renovate the bathrooms. All will be detailed in my next posts!
PaintingRenovationRenovation journalStone House